

Our dog friends also have the right to have a house worthy of the name! What if we built it ourselves?
Ready to DIY ?!
Equipment
What you will need to complete this DIY project:
- 1 board 63 x 40 cm
- 2 boards 85 x 40 cm
- 2 feet Originals 16cm tilted
- Screws (supplied with the feet)
- A drill and a forest with a flat bit
- A sander with 180 and 120 grit sandpaper
- A pot of colorless varnish and a brush
- A little dog and his croquettes!
The dimensions of our niche!
Here is a small diagram which presents our beautiful creation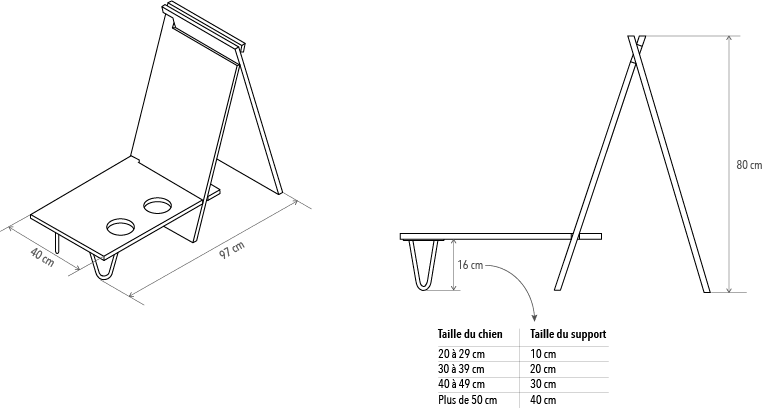
Let's go !!
* SPOILER * A video of this tutorial can be found at the bottom of this article, do not hesitate to consult it to make the realization of this DIY even easier!
Creation of the support for the bowls of our niche


First, cut out the board if the dimensions are not correct! It should measure 63 x 40 cm.
Draw 2 circles 10,5 cm in diameter 9,5 cm from the top of the longest edge and 18,5 cm and 38,5 cm from the small left side (the diameter of the circle depends on the size of your bowl 😉)
Then make a groove widthwise 6,9 cm from the edge of the 35 cm long and 2,5 cm wide board on the right side of the board opposite the holes.
With the drill equipped with a flat wood bit, drill holes inside the circle to be able to pass the jigsaw. Attention, to be able to pass the jigsaw in the groove, you will need a 5,5 mm diameter drill.
Using the jigsaw cut out the two circles for the bowls and the groove. Be careful to maintain the board!


Manufacture of the “teepee” doghouse for your dog


If your boards are not the right size, cut in half of 85 x 40 cm.
We will start with the board that will be assembled with that of the bowl support. To start, trace your cuts beforehand. The small groove should be 16,8cm from the bottom and 2,5cm wide by 5cm deep. For the large one, it should be 3,35 cm from the top and 5,7 cm wide by 35 cm deep. So you can assemble the two boards, the first groove must be on the left and the other on the right.
Take the drill with the bit and drill holes in the corners of each groove before cutting them with the jigsaw (seen previously).
For the side of the tipi, you will need to make a single small groove on the left located 3,35 cm from the top, 5,7 cm wide and 5 cm deep.
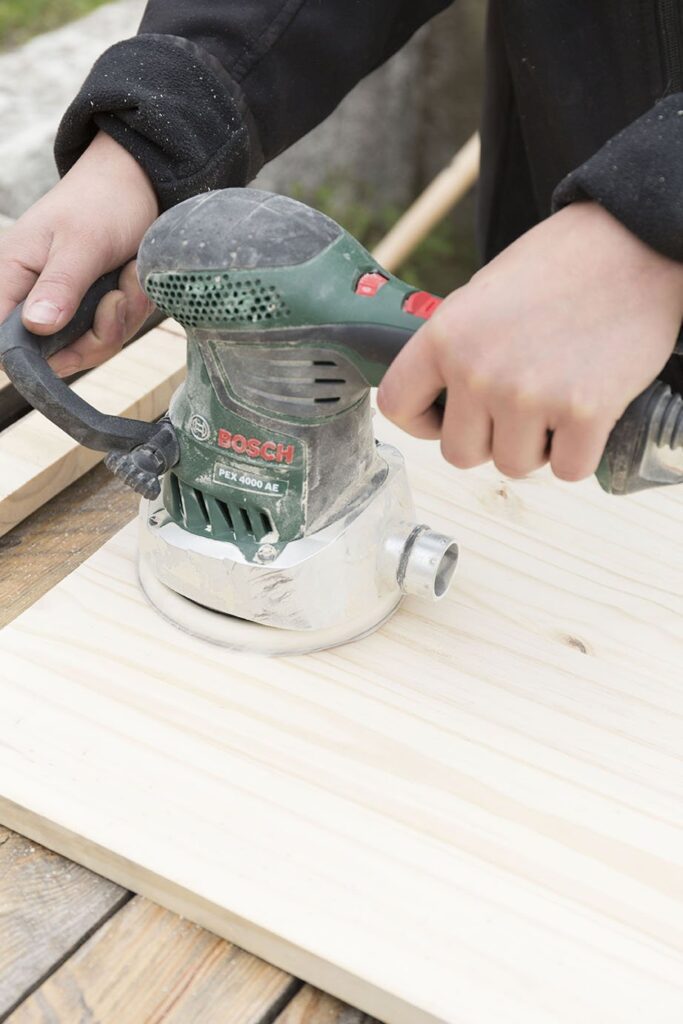
Once all your cuts have been made, take your sander and with 120 and 180 sandpaper, sand the boards.
Take your most beautiful brush and apply one or two coats of varnish!
Assemble the elements of the niche


It's time to put all the elements together to make your niche! Start by attaching the Ripaton feet to the board for the bowl supports. Then insert the left board (with the groove down) into the board of the bowl holder, then add the second board to create the teepee!


All you need to do is present his new home to your little doggie! Our creation has been tested and adopted by Léon, the workshop mascot!
Congratulations! You are now part of the Ripaton DIY family! ?
And you ? What does your creation look like? Do not hesitate to send us your creation or to share it with the #Ripaton!
If you have any questions, you can contact us or to visit our FAQ .
We will meet again very soon for new DIY!
Team RIPATON (❤)