
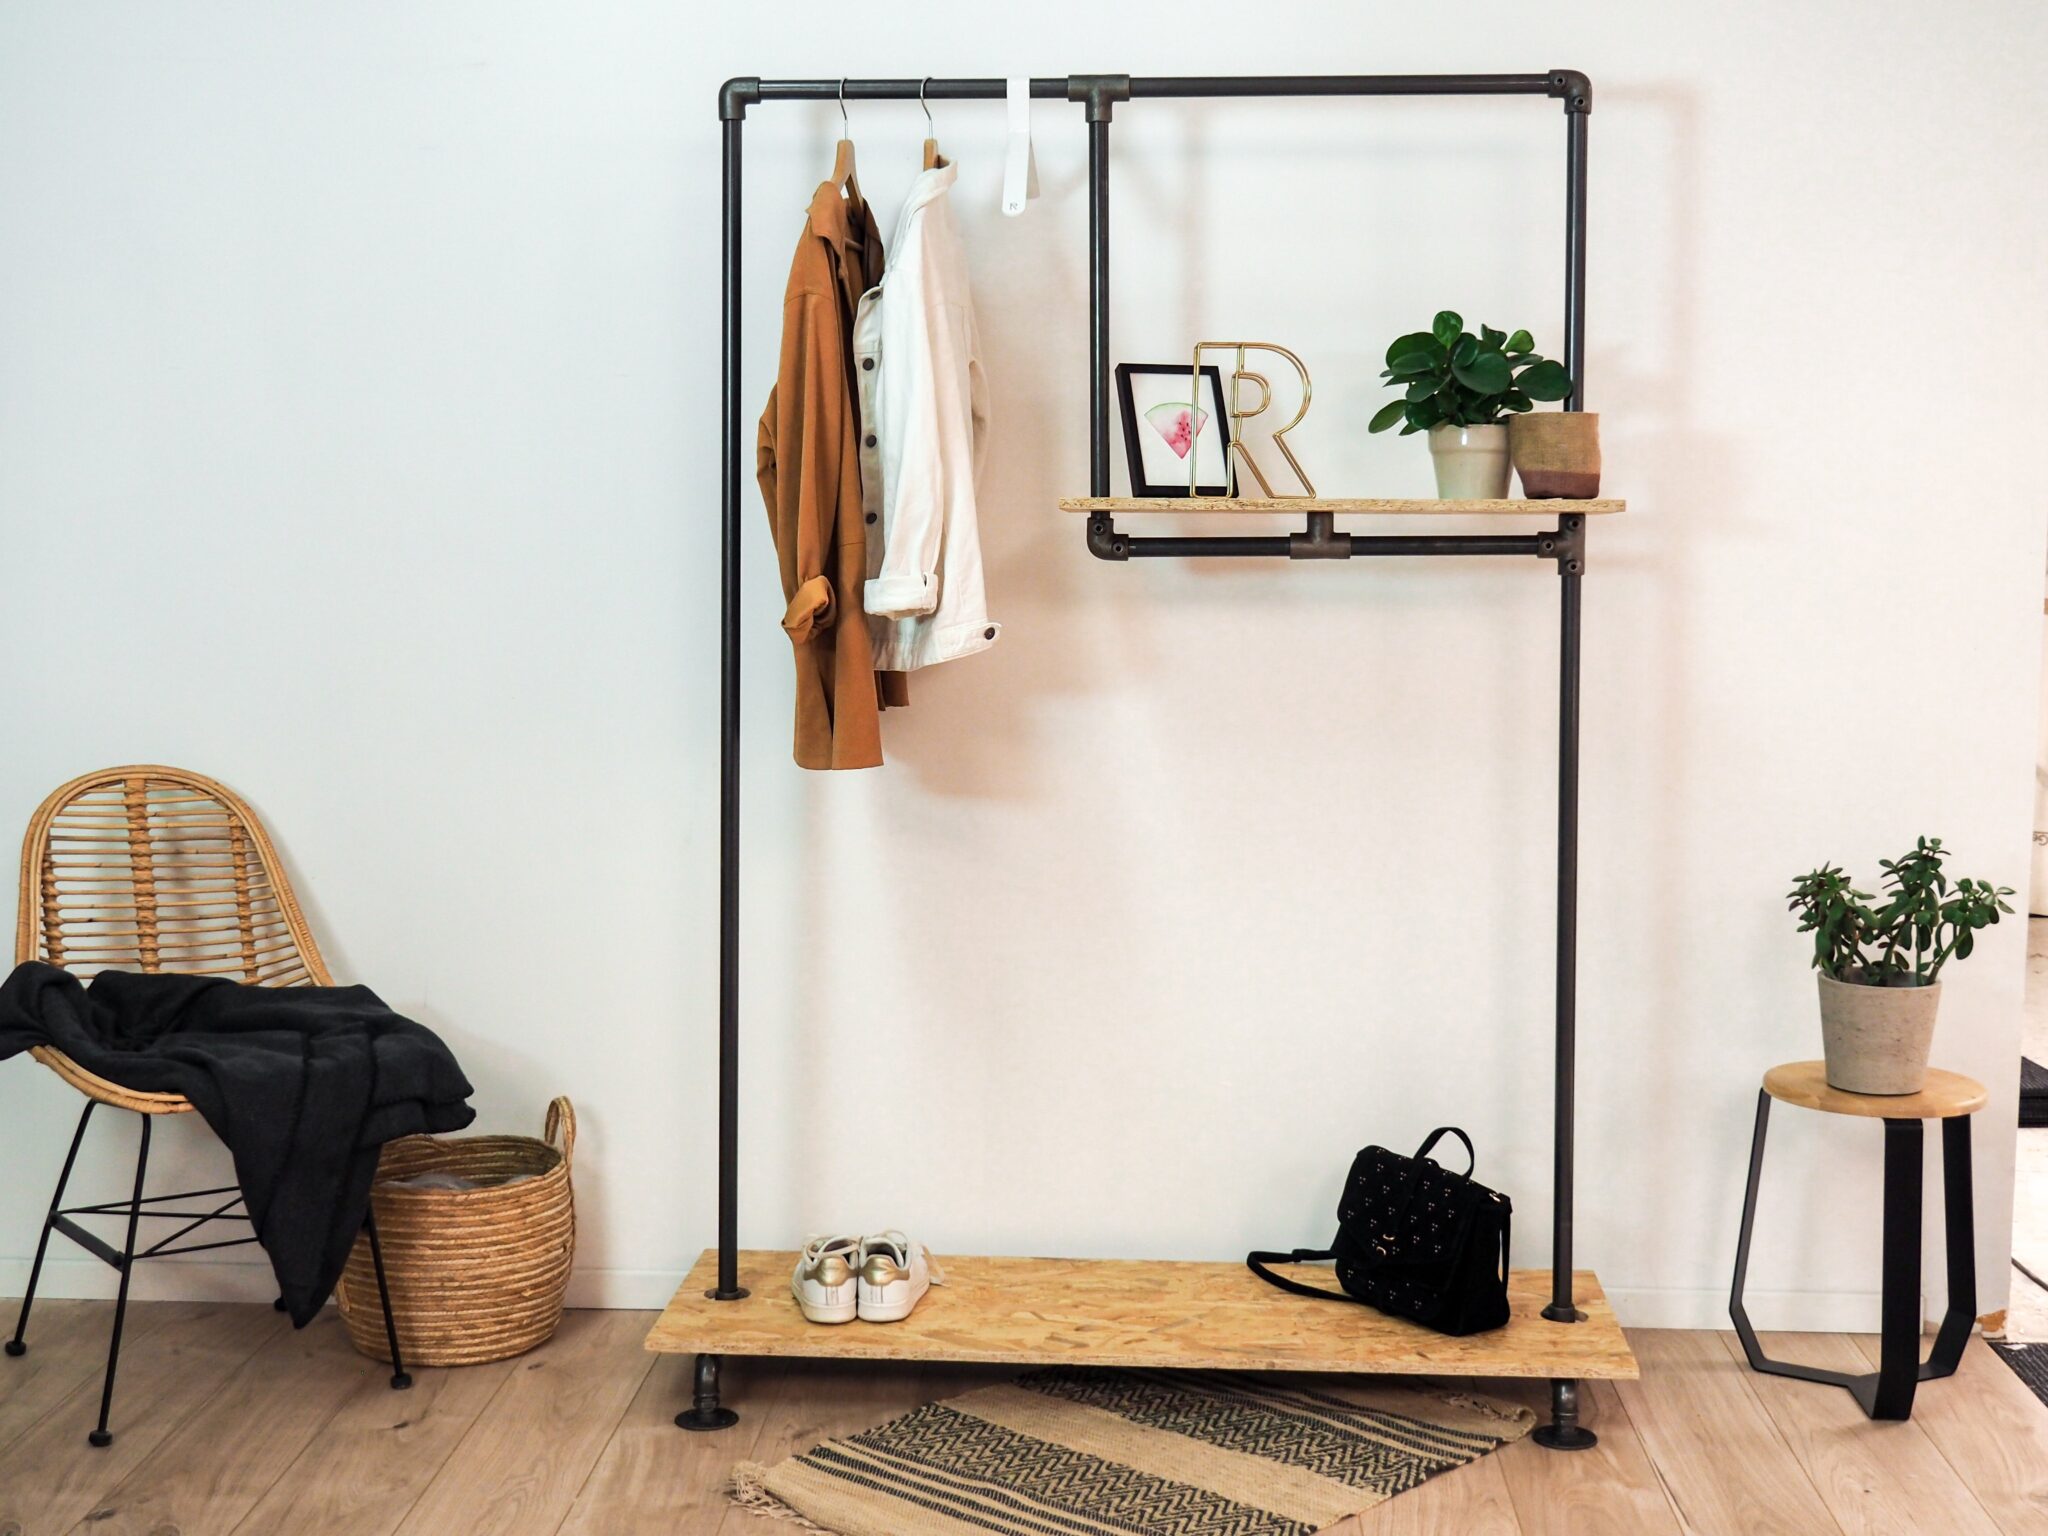
A DIY that will make our wearing even more practical and decorative. We offer you in this Do It Yourself to customize your wearing the Astucieux by adding shelves.
Equipment :
- The Clever : our clothes rack WITH the bag holder / width 116 cm
- 2 OSB panels 15mm thick (for boards of: 133 x 45 cm and 74 x 30 cm)
- Circular saw
- Drill with 67mm hole saw and 30mm flat wood drill
- Mini multi-tool with sanding attachment
- Eccentric sander (or sandpaper)
- 1 meter, 1 pencil and 1 ruler
Preparing the boards
To start, take the measurements of the cuts to be made on your boards. So you need a board of 133 x 45 cm and a second of 74 x 30 cm. Trace your measurements using the tape measure and a pencil.


The cutouts
The second step is cutting the boards. Preferably use a circular saw which allows for a cleaner cut than with a jigsaw (but otherwise the jigsaw will do the job!).
Remember to protect your eyes and ears when cutting!


Drilling
On the large board: Place a mark 22,5 x 10 cm on each side. Then using the drill fitted with the hole saw drill your wood.
On the small board: Also place a mark this time at 15 x 5 cm for each end. Drill with the 30 mm flat bit.
To soften the edges of the circles: Go with a sander with the mini multi-tool or failing that, a good old sandpaper.


Mounting the rack
This is the most tedious part: call a loved one to help you with this step!
First of all, start assembling the rack in the classic way: with the feet. Once the two 1m70 bars are fixed: slide your large board into them.
Then and this is where the matter gets a little complicated (just a little): Prepare the central "L" upstream. It consists of a single elbow, two T's and two 55 cm bars (see technical drawing).
Slide it into the right bar of your rack. Hold this part and slide your second board into it, which will rest on the central T.
Finally: keeping this part at the right height: place the last bar from the top (with the elbows). Tighten the assembly securely using the Allen key.


Here is your wearing the Clever even more clever! This idea complements the clothes rack with these shelves to be used for storing shoes, bags and decorative items.


Well done ! You are part of the Ripaton DIY team! 
And you ? What does your creation look like? Do not hesitate to send us your creation or to share it with the #Ripaton!
If you have any questions, you can contact us or to visit our FAQ .
We will meet again very soon for new DIY!
Team RIPATON ( )